
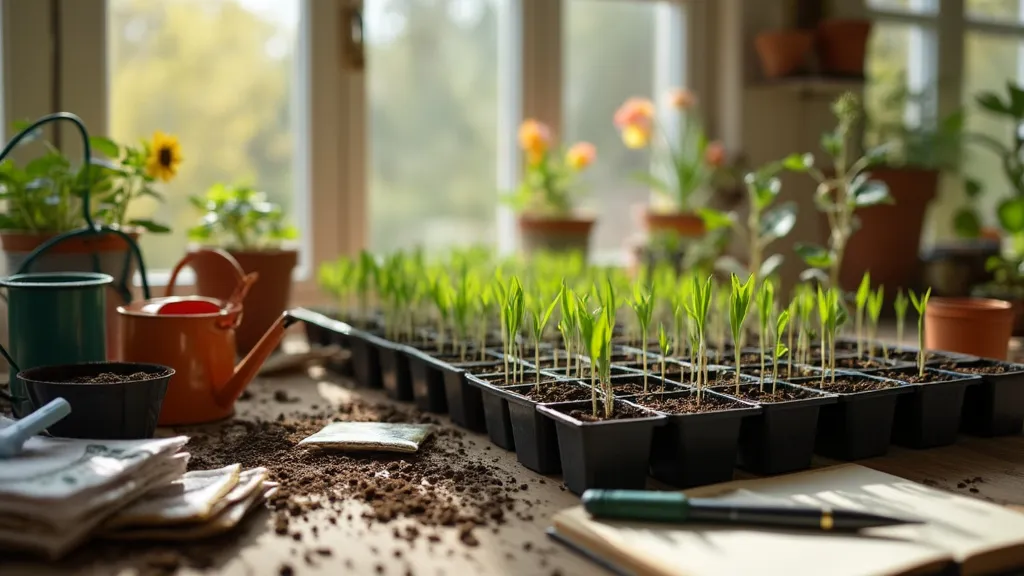
Starting seeds indoors is an exciting way to prepare for spring planting. It allows you to get a jump on the growing season and gives you the chance to nurture your plants from the very beginning. This article will guide you through the essential steps for starting seeds indoors, providing tips and tricks to ensure a thriving garden.
Why Start Seeds Indoors?
Starting seeds indoors has several advantages:
- Extended Growing Season: Begin your plants earlier and enjoy a longer harvest period.
- Better Control: Manage the growing conditions such as temperature, light, and moisture.
- Variety Selection: Access to heirloom and rare varieties that may not be available as seedlings.
- Cost-Effective: Save money by growing your plants from seeds instead of buying transplants.
When to Start Seeds Indoors
The timing for starting seeds indoors depends on the specific type of plants you wish to grow and your local climate. Here’s a general guideline:
- Cool-Season Crops (like broccoli, cabbage, and lettuce): Start indoors 6-8 weeks before the last frost date.
- Warm-Season Crops (like tomatoes, peppers, and cucumbers): Start indoors 6-8 weeks before the last frost date.
- Herbs: Generally, start indoors 6-8 weeks before the last frost date, but some (like basil) can be sown later.
Be sure to check your USDA Hardiness Zone and local frost dates to plan your seed starting accordingly.
Supplies Needed for Starting Seeds Indoors
Having the right supplies is crucial for successful seed starting. Here’s a checklist of essential items:
- Seed trays or pots: Use biodegradable pots, seed trays, or even recycled containers.
- Seed starting mix: A lightweight, well-draining mix specifically designed for starting seeds.
- Seeds: Choose high-quality seeds that are appropriate for your growing zone.
- Labels: For identifying different plant varieties.
- Watering can or spray bottle: For gentle watering without disturbing the seeds.
- Light source: Natural sunlight or grow lights for providing adequate light.
- Plastic wrap or humidity dome: To maintain humidity during germination.
Step-by-Step Guide to Starting Seeds Indoors
1. Prepare Your Containers
- Clean Containers: If reusing containers, clean them thoroughly to prevent disease.
- Fill with Soil: Fill your containers with seed starting mix, leaving about ½ inch of space at the top. Moisten the mix before planting.
2. Plant the Seeds
- Follow Seed Packet Instructions: Each type of seed has specific planting depths and spacing. Use these guidelines for best results.
- Planting Depth: Generally, plant seeds at a depth of 2-3 times their size.
- Label Each Container: Use labels to keep track of what you've planted where.
3. Watering
- Initial Watering: Gently water the seeds after planting to settle the soil. Use a spray bottle or watering can with a fine spout.
- Keep Moist: Maintain consistent moisture but avoid overwatering, as this can lead to damping-off disease.
4. Provide Proper Light
- Sunlight: If using natural light, place the containers in a south-facing window. Rotate them periodically for even growth.
- Grow Lights: If using artificial light, position grow lights about 2-4 inches above the seedlings and keep them on for 12-16 hours a day.
5. Maintain Ideal Temperature
- Optimal Temperature: Most seeds germinate best in temperatures between 70°F and 75°F (21°C to 24°C).
- Heat Mats: Consider using a heat mat if your home is cool, which can help speed up germination.
6. Thin Seedlings
- Thinning: Once your seedlings develop a few true leaves, thin them to reduce competition. Leave the strongest seedling in each container and snip the others at the soil line.
7. Fertilizing
- First Feeding: After a few weeks, when seedlings have developed a set of true leaves, start fertilizing with a diluted, balanced liquid fertilizer.
- Frequency: Fertilize every 1-2 weeks to promote healthy growth.
8. Hardening Off
Before transplanting your seedlings outdoors, it’s essential to harden them off to acclimatize them to their new environment.
- Gradual Exposure: Start by placing your seedlings outside for a few hours in a sheltered spot. Gradually increase their exposure to sunlight and wind over 7-10 days.
- Monitor Conditions: Keep an eye on the weather; bring them indoors during extreme conditions.
9. Transplanting Outdoors
- Choose the Right Time: Transplant your seedlings outdoors after the last frost date when soil temperatures are warm.
- Prepare the Planting Site: Amend the soil as needed and ensure good drainage.
- Plant with Care: Gently remove the seedlings from their containers and plant them at the appropriate depth in the garden bed.
Common Challenges and Tips for Success
- Damping-Off: A common disease that causes seedlings to rot. Prevent it by ensuring good airflow, avoiding overwatering, and using a sterile seed starting mix.
- Leggy Seedlings: Caused by insufficient light. If seedlings become tall and spindly, increase light exposure immediately.
- Pests and Diseases: Keep an eye out for pests like aphids and fungal diseases. Use organic pest control methods as needed.
To sum up
Starting seeds indoors is a rewarding process that sets the stage for a productive garden. By following these steps and providing your seedlings with the best care, you’ll be well on your way to a bountiful harvest come spring. Embrace the joy of gardening and watch your efforts bloom into beautiful plants! Happy gardening!