
Intro
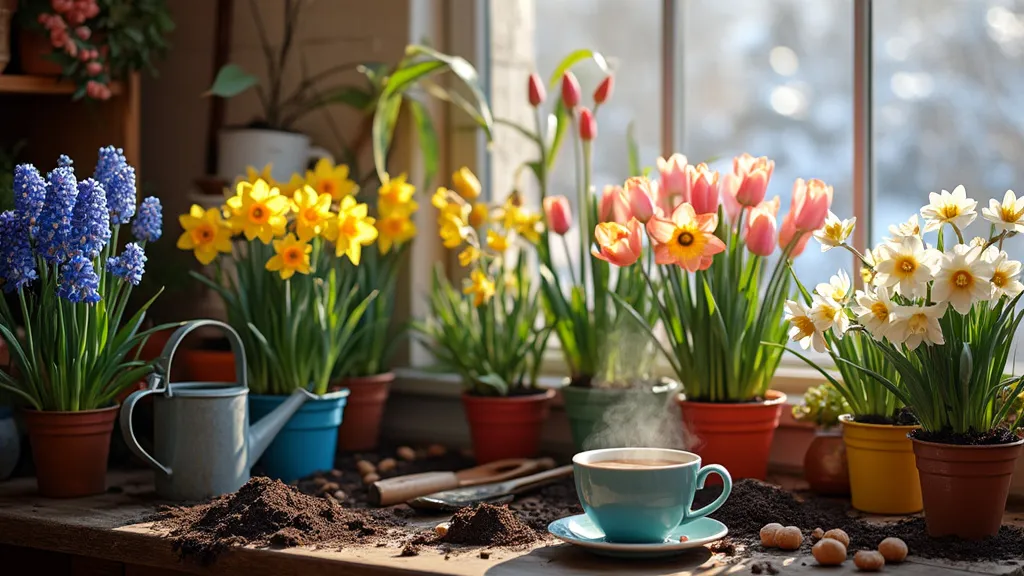
Forcing bulbs indoors is a delightful way to brighten the winter months with vibrant colors and fragrant blooms. Whether you want to bring a touch of spring to your home or create a stunning centerpiece for a winter gathering, forcing bulbs can be a fulfilling project. This guide will walk you through the steps to successfully force bulbs for indoor winter blooming, ensuring you enjoy beautiful flowers even when the outdoors are bleak.
Choosing the Right Bulbs
When selecting bulbs for forcing, it's important to choose varieties that are well-suited for indoor growth. Here are some popular options:
- Amaryllis: Known for their large, dramatic flowers.
- Paperwhite Narcissus: Offers fragrant, star-shaped blooms.
- Hyacinth: Features dense clusters of flowers with a sweet scent.
- Tulips: Classic spring flowers that come in a variety of colors.
- Crocus: Small and cheerful, perfect for adding pops of color.
Tips for Selecting Bulbs
- Quality Matters: Choose firm, plump bulbs without any signs of mold or decay.
- Size Counts: Larger bulbs typically produce larger flowers.
- Look for Varieties: Some bulbs are specifically bred for indoor forcing, such as ‘Ziva’ paperwhite or ‘Christmas Star’ amaryllis.
Preparing Bulbs for Forcing
Once you have chosen your bulbs, the next step is preparation. The method of preparation can vary depending on the type of bulb.
Chill Period
Certain bulbs, like tulips and hyacinths, require a chilling period to simulate winter conditions. Here’s how to do it:
- Select the Bulbs: Choose your desired varieties that need chilling.
- Refrigerate: Place the bulbs in a paper bag and store them in the refrigerator for 10 to 16 weeks. Avoid storing them with fruits, as ethylene gas can damage bulbs.
- Check Regularly: Ensure there’s no moisture buildup in the bag.
No Chill Required
Bulbs like amaryllis and paperwhite can be forced without a chilling period. Simply move on to potting them as follows:
Potting the Bulbs
Choosing the right pot and soil is crucial for the success of your indoor garden.
Selecting Pots
- Drainage: Ensure pots have drainage holes to prevent waterlogging.
- Size: Choose pots that are just slightly larger than the bulbs.
- Material: Terracotta pots are excellent as they allow moisture to evaporate.
Soil Preparation
- Type: Use a well-draining potting mix, ideally one designed for bulbs or containers.
- Moisture: Moisten the soil slightly before potting.
Planting Steps
- Fill the Pot: Add soil to the pot, filling it about halfway.
- Position the Bulbs: Place the bulbs on the soil with the pointed ends facing up.
- Cover the Bulbs: Add more soil until the bulbs are just about two-thirds buried.
- Watering: Water the bulbs lightly, ensuring not to saturate the soil.
Creating the Right Environment
Once your bulbs are potted, they need the right environment to thrive.
Light Conditions
- Bright Indirect Light: Place your pots in a location with bright, indirect sunlight. A south-facing window is ideal.
- Rotate: If your bulbs start leaning towards the light, rotate the pots regularly to promote even growth.
Temperature Control
- Cooler Temperatures: Aim for a temperature of around 60-70°F (15-21°C) during the day and slightly cooler at night for optimal growth.
- Avoid Drafts: Keep the bulbs away from cold drafts or heat vents that may disrupt their growth.
Watering and Care
Caring for your forced bulbs is simple and requires regular attention.
Watering Schedule
- Keep Soil Moist: Water the bulbs when the top inch of soil feels dry.
- Avoid Overwatering: Ensure there’s proper drainage to prevent rot.
Fertilizing
- Optional: After the bulbs begin to sprout, consider using a diluted liquid fertilizer every few weeks to encourage healthy growth.
Enjoying the Blooms
With proper care, your bulbs will begin to bloom, adding beauty and fragrance to your home.
Timing
- Amaryllis: Typically blooms 4-6 weeks after planting.
- Paperwhite Narcissus: Generally flowers within 4-6 weeks.
- Tulips and Hyacinths: Usually bloom around 7-10 weeks after chilling.
Displaying the Flowers
- Group Pots: Create a stunning display by grouping different pots together.
- Vase Arrangements: For some varieties, cut the blooms and arrange them in vases for beautiful floral displays.
Aftercare
Once your indoor bulbs have finished blooming, you may be wondering what to do next.
Disposal
- Amaryllis and Paperwhite: These are typically treated as annuals and discarded after blooming.
- Tulips and Hyacinths: Can be allowed to die back naturally, and the bulbs can be stored for future use.
Storing Bulbs
If you want to save your bulbs for next year:
- Let Foliage Die Back: Allow the leaves to yellow and die back completely.
- Clean and Store: Remove the bulbs from the soil, clean them gently, and store them in a cool, dry place until the next planting season.
To sum up
Forcing bulbs for indoor winter blooming is a rewarding project that can bring joy and color to your home during the colder months. By selecting the right bulbs, preparing them properly, and providing the ideal growing conditions, you can enjoy beautiful blooms that brighten your space and uplift your spirits. Happy planting!